It can be really frustrating to know that your freezer is not cooling enough to store any food especially a week before Christmas when you need it the most. Imagine you have invited so many guests for Christmas dinner and you open the freezer to find melted food items. It might seem a bigger malfunction in need of calling a professional freezer repair service but it can actually a small malfunction of broken or wore out door gasket.
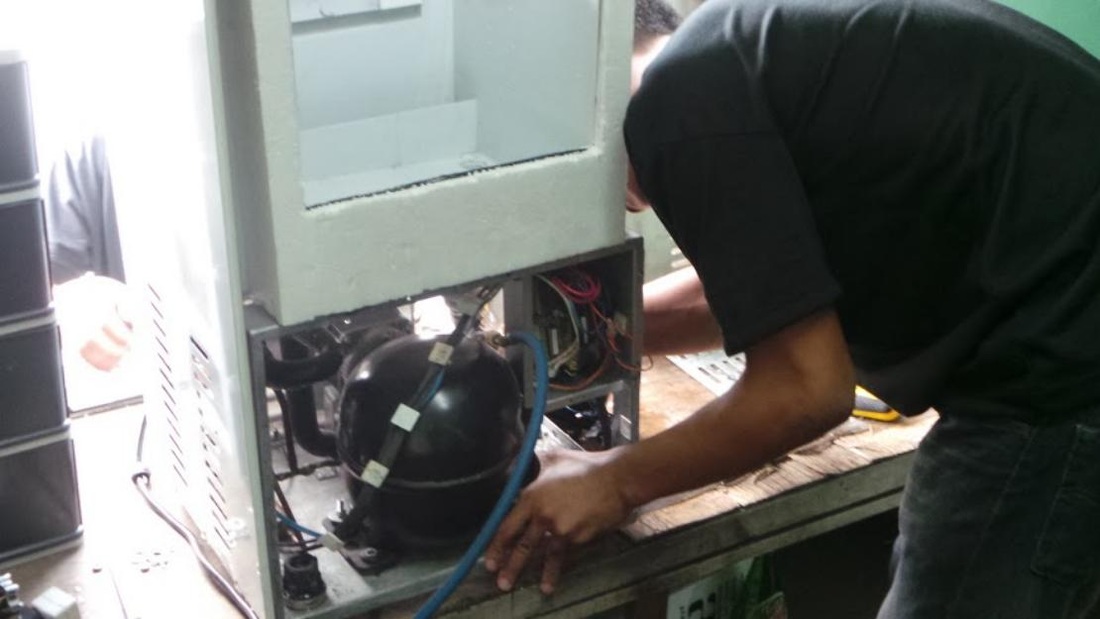
You can repair the door gasket on your own but if you are not comfortable with the DIY idea you can always consult an expert advice of a freezer repair service provider. Before any trial to repair the gasket, make sure that the capacitor is properly discharged as it keeps on storing the electricity even after being unplugged.
Repairing a door gasket: The rubber seal around the door may become hard or damaged which can cause the drop in temperature in the unit unable to cool the freezer unit efficiently means that the door gasket should be repair or replaced.
- Capacitor is usually located at the top of the compressor.
- Discharge the capacitor by placing the probes of a 20,000-ohm, 2 watt resistor upon the terminals of the capacitor.
Repairing a door gasket: The rubber seal around the door may become hard or damaged which can cause the drop in temperature in the unit unable to cool the freezer unit efficiently means that the door gasket should be repair or replaced.
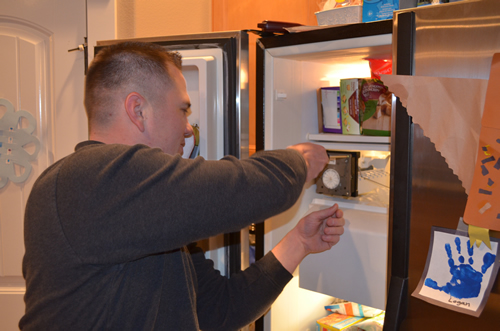
Dollar test: Place a dollar bill between the door jamb and gasket and close the door. Try to pull the dollar bill out, if it comes out right away or fall out, the gasket must be in need of replacement.
Steps to replace the door gasket:
- If you want to replace the gasket, make sure that the new one is exactly the same kind and specifically for the model of the freezer you own. Avoid using the fit-all gaskets as those are hard to tailor to the door.
- Soak the gasket or let it sit for 24 hours in the room before installing. Use warm water to soak the new gasket it makes it flexible.
- Remove the old gasket by removing the screws or clips and the retaining strip holding the gasket in place.
- Be careful before removing spring clips or adhesive as you do not want to remove them from their mounting. Take your time for this step.
- Make a mild solution to clean the door frame after removing the old gasket to create a clean place for the new one to set in. mix small amount of detergent or surface cleaner in the water, avoid strong solution if you do not want to remove any protective layer. Use mineral spirits and steel wool of fine quality in case of stubborn adhesives and then clean the surface with the detergent solution.
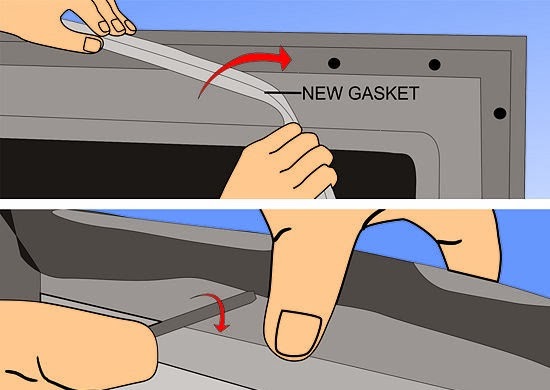
- Place the gasket on the top of the door, and then work it down the side of the door and smoothing it evenly around the corners in the process.
- Fasten all screws, clips and adhesives to secure the gasket at place. Test the gasket again with dollar bill to be sure.
 RSS Feed